Earlier we covered in detail the required components for building your own keyboard and hopefully made the whole project feel a bit less daunting. Today we will go over the assembly process, so you can turn your pile of parts into a functioning board.
Once you've setup a clean workspace free of flammable objects, you can start putting everything together. The basic process looks like this:
- Press your stabilizers onto the PCB where needed
- Align your plate and solder in switches
- Secure the whole assembly into the case
- Install your keycaps

There are few things you can do to make this even easier. The very first thing is to ensure you follow the above in the exact order. Your stabilizers cannot be installed over top of the plate and your switches cannot be installed under it, unless you really want to give your solder sucker a workout.
Installing Stabilizers
Installing your stabilizers is pretty simple. Align the prongs with the appropriate holes in the PCB and press them straight in. The orientation, however, is important.
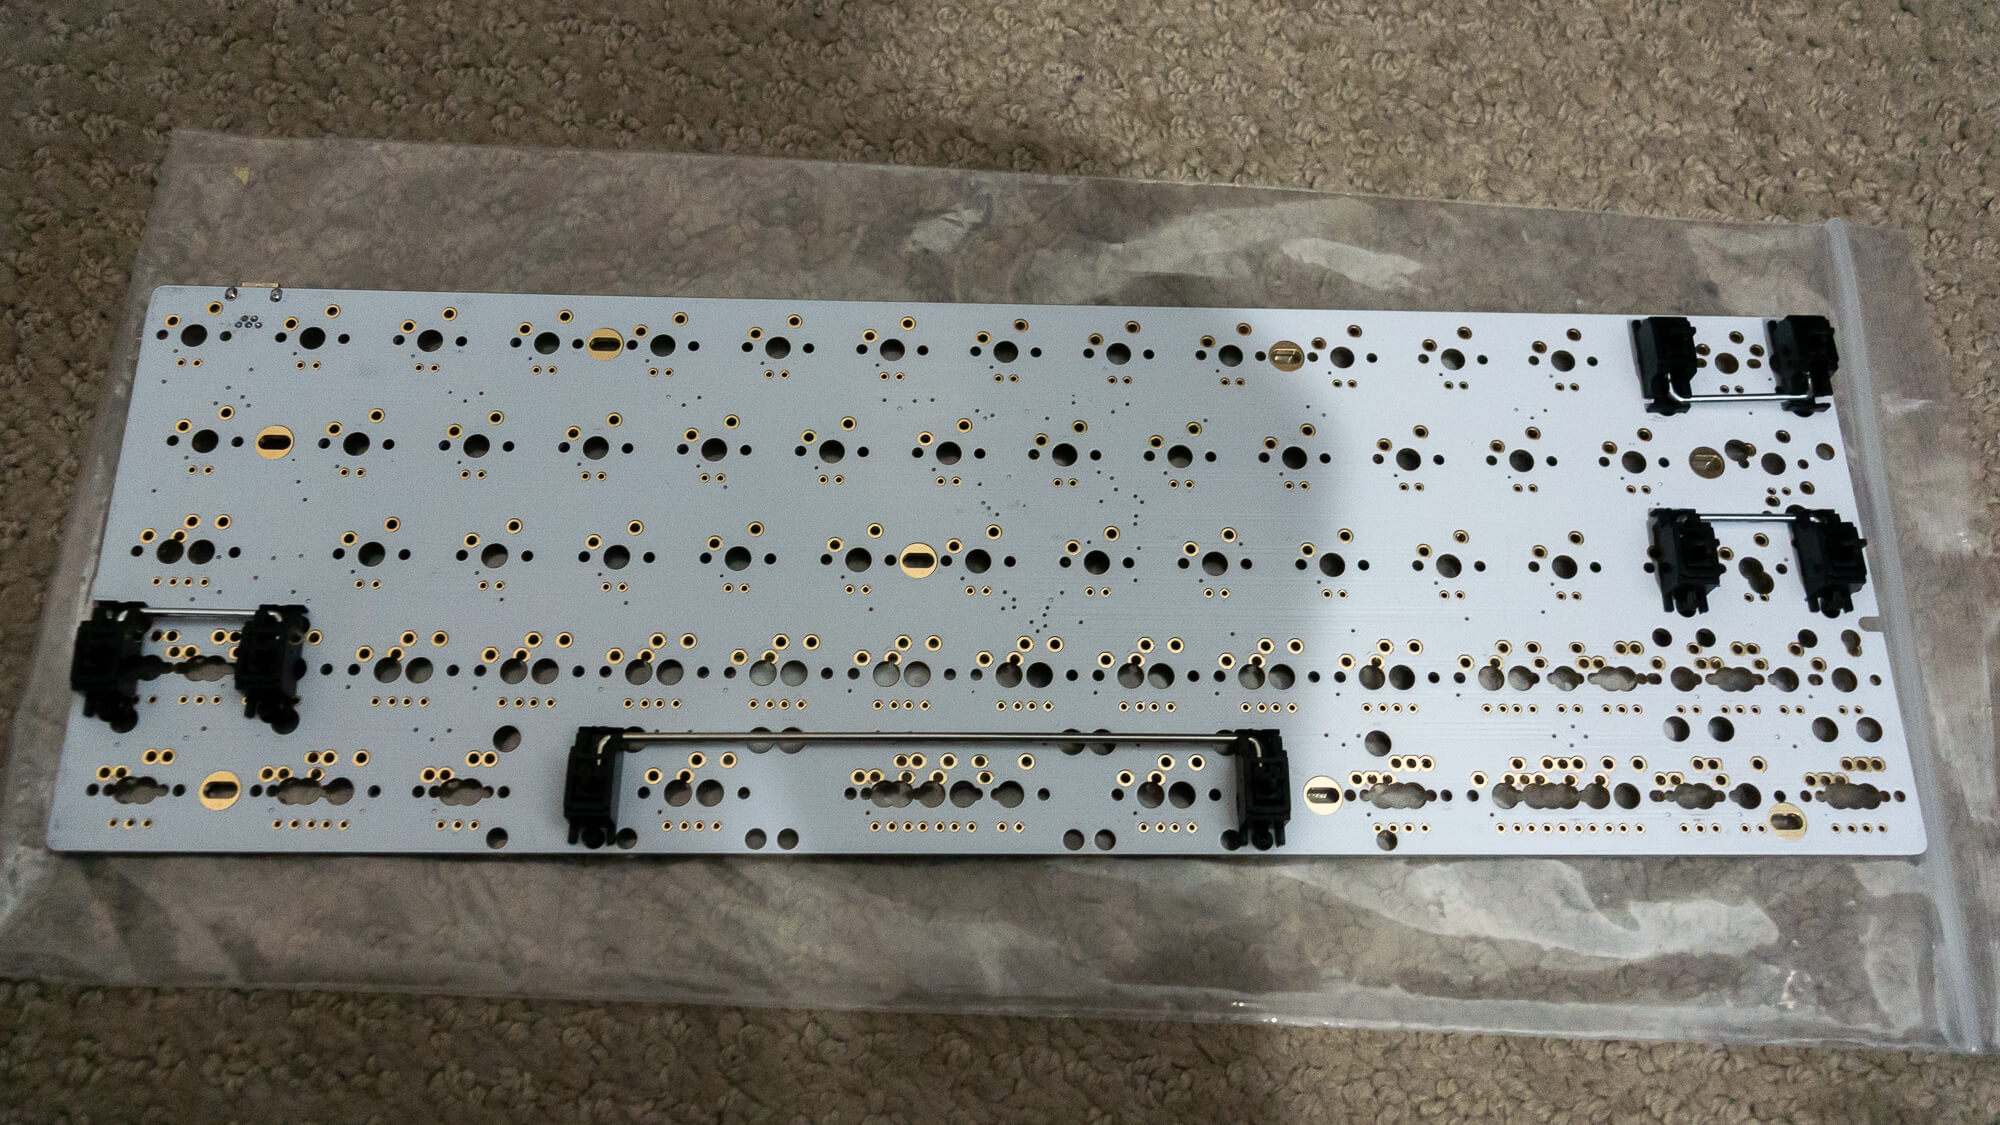
The plain ends on the stabilizers need to go into the larger PCB holes while the ends with the clips need to go into the smaller holes. If you install them the other way they won't stay in. First install into the big holes and then press the other side and install the stabilizers into the smaller holes. You might have to apply a fair bit of pressure to get the clips to close together.
Before moving on to soldering it should be noted that stabilizers are not lubricated from the factory. This means they can be a little bit noisy, but can be alleviated by applying a small amount of lubricant to the contact points. WASD sells a silicone based lubricant for a couple of dollars.
Align and Solder
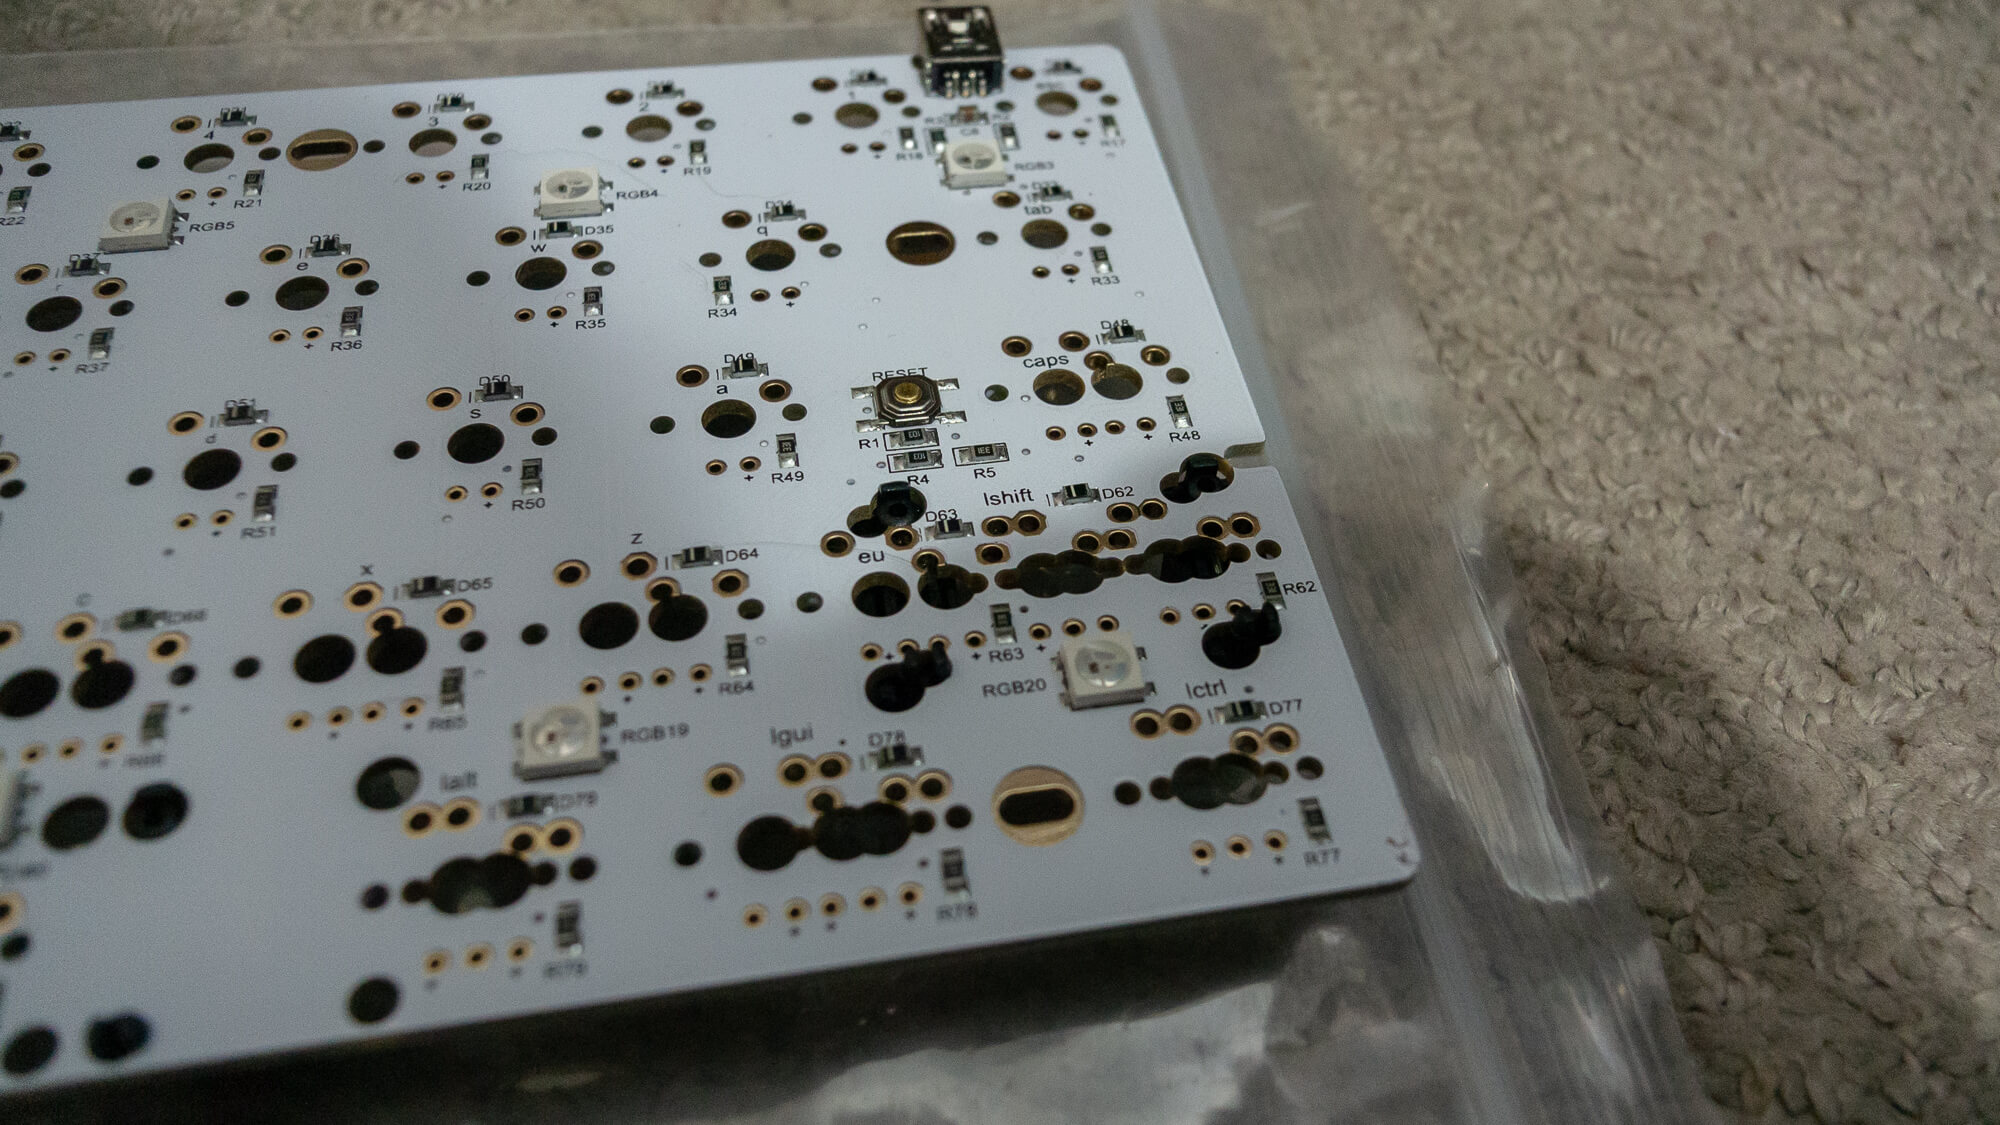
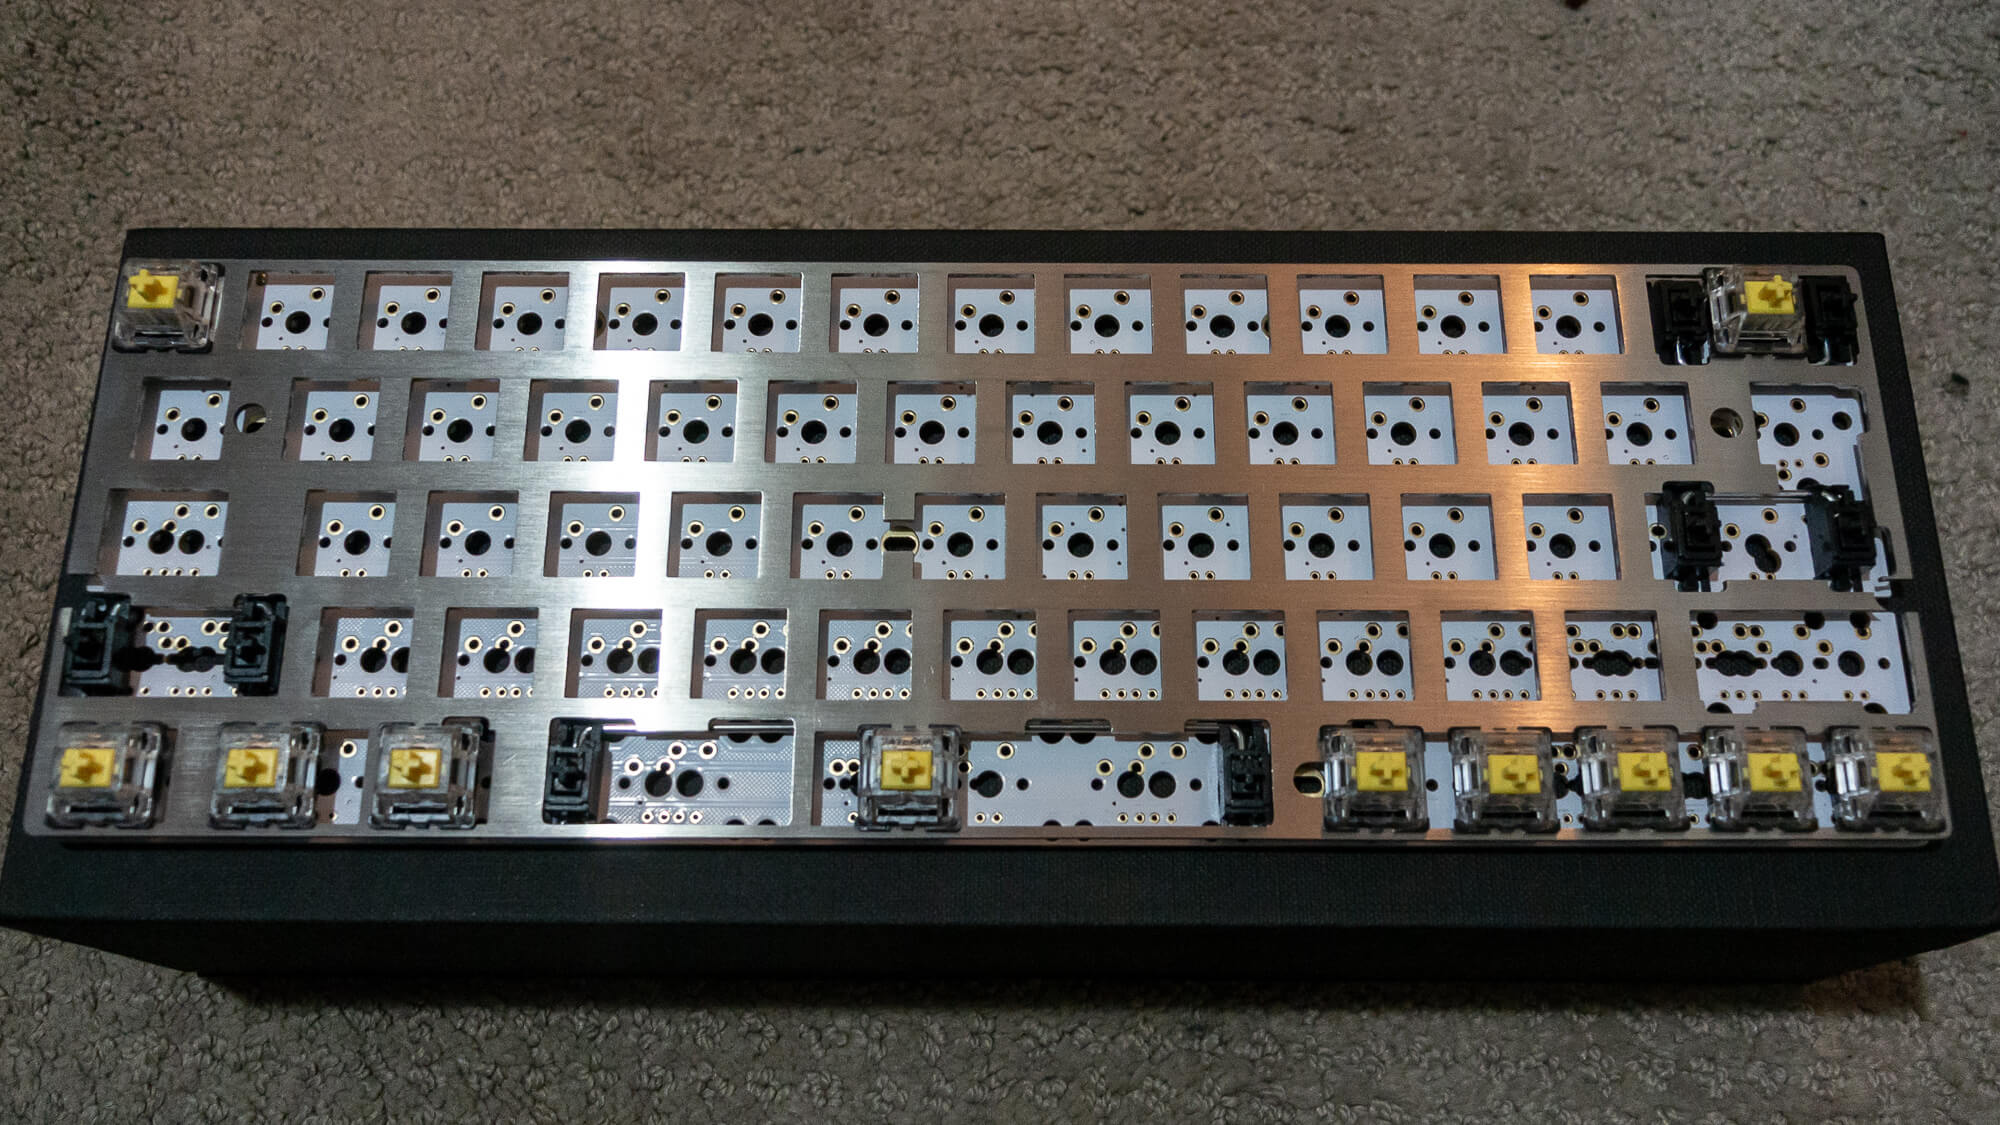
It can be a pain to keep the plate aligned with the PCB when you are trying to place all of your switches in one go. For a perfect alignment and to keep the plate level on all sides, initially install the 4 corner switches and solder them in. You can also install the bottom row and test fit your keycaps. The bottom row typically has multiple switch placement options to accommodate different space bar and modifier setups. It's better to check the fitment now and solder once than it is to desolder an entire row.
Before you solder anything make sure your soldering iron is up to temperature and don't forget to clean and tin the tip. Applying a small amount of solder to the tip increases conductivity and makes soldering faster which will protect your PCB.
Each solder joint should take no more than a couple of seconds. Do not keep the tip pressed against the pad for longer than that. Doing so can cause the pad to lift from the PCB. Instead, clean off the tip using a damp sponge and then tin the clean surface.
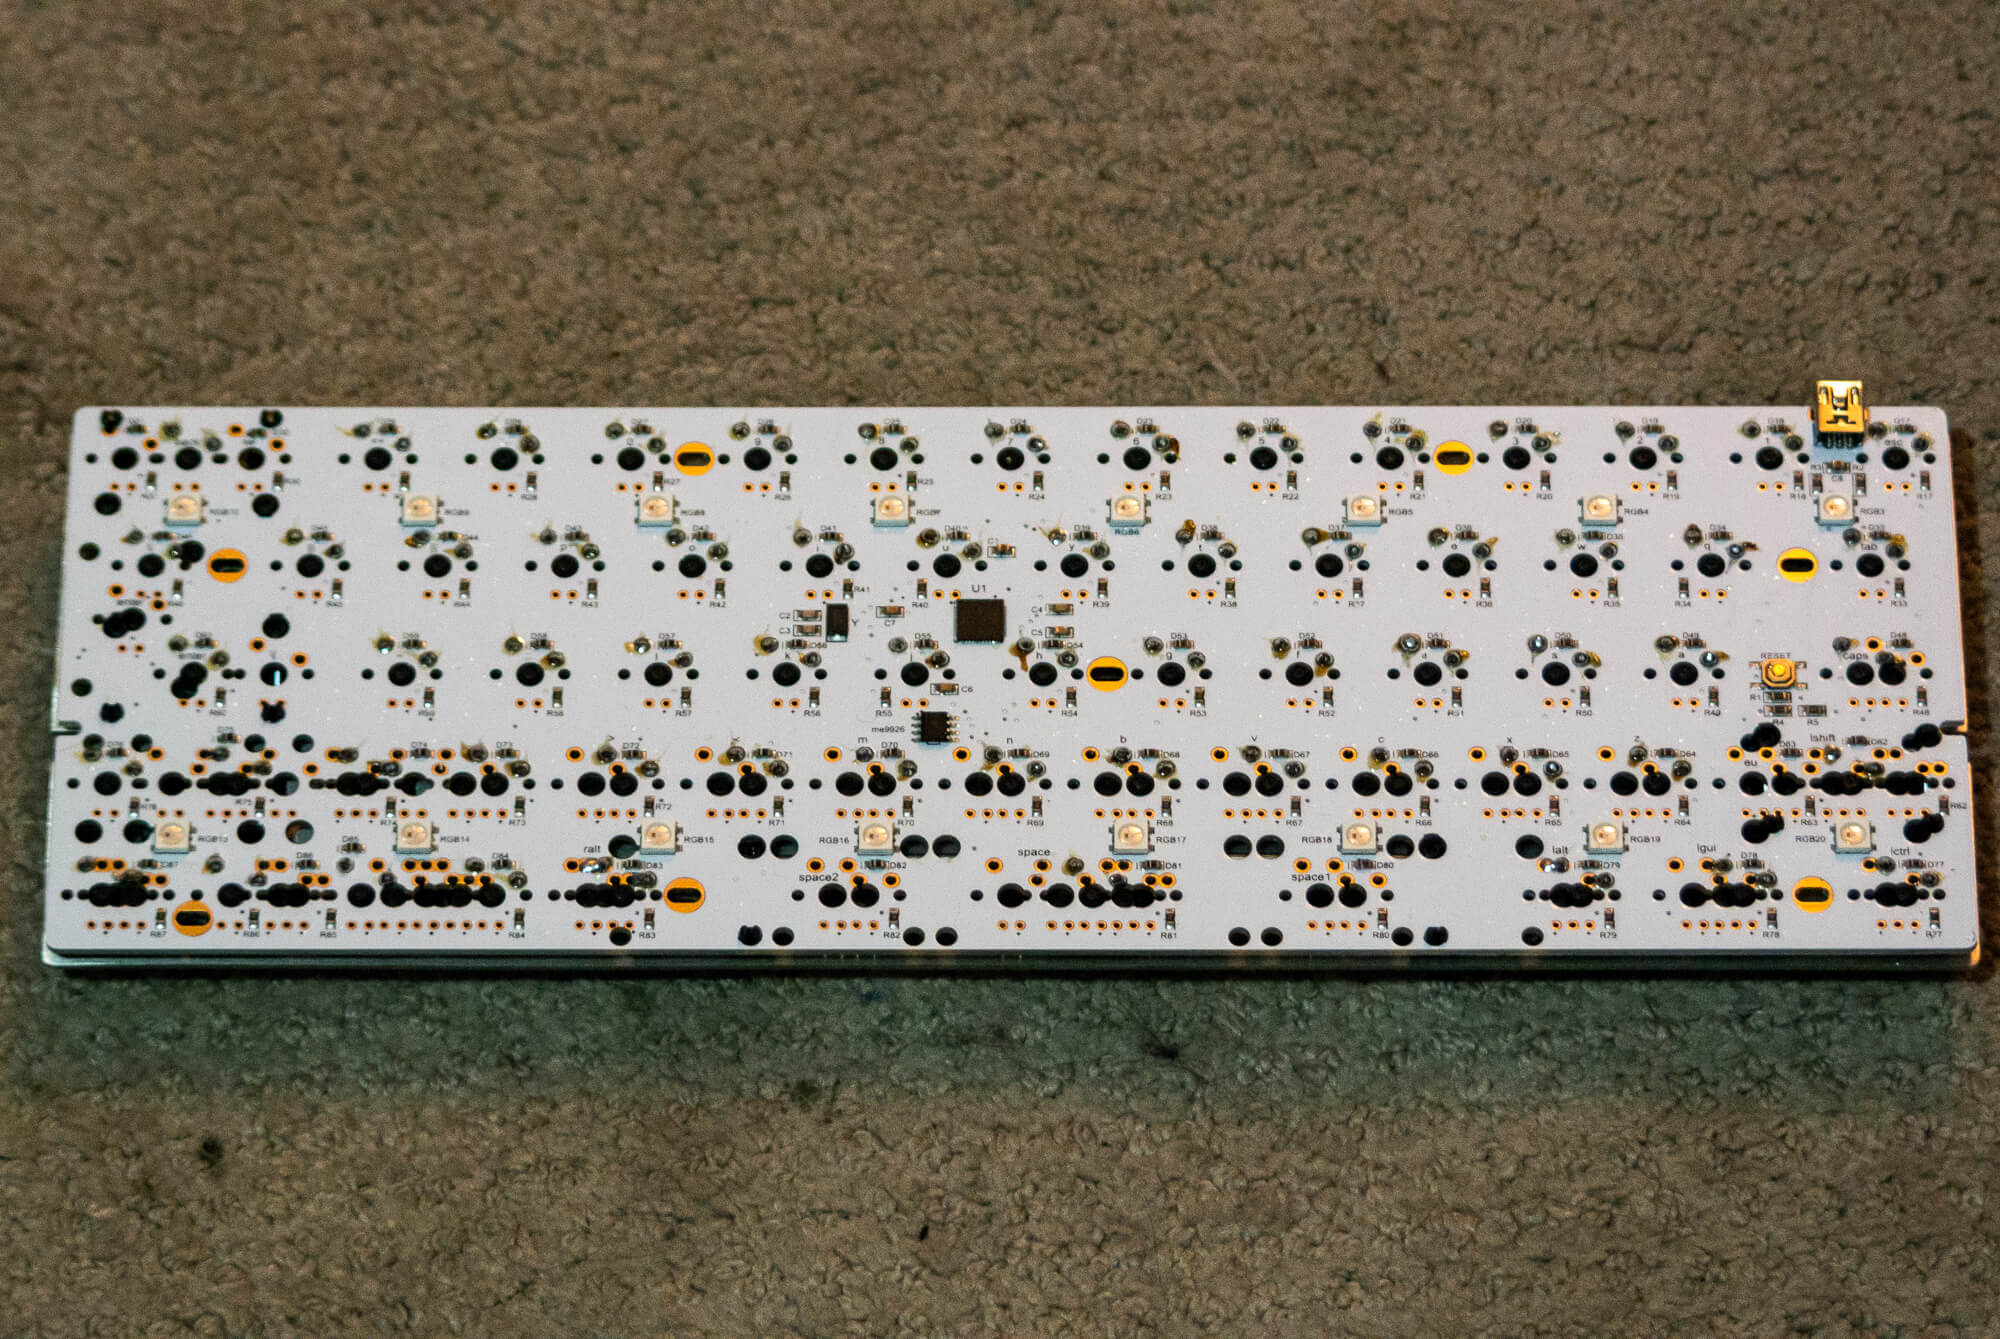
The only time you should be touching the solder to the tip of the soldering iron is when you are tinning. For a strong solder joint, heat the pad and terminal of the switch while feeding the solder from the opposite side.
Your solder contains a chemical cleaning agent called flux which can't do its job if it never touches the soldering surface. A good solder joint will not bubble out and will have a nice a shine to it.
Final Assembly and Keycap Installation
The final part of the assembly process should be quite easy if you've ever handled a screwdriver before. Hopefully you've left the tiny screws used to secure the PCB to the case somewhere safe up to this point---they get lost very easily.
Simply place the assembled board into the case and secure the screws. Most cases will have 5 mounting points but your PCB may only have four. This is just fine, four screws will still hold the board securely. The last thing to do is to install your keycaps. Firmly press each one onto the stems of all your switches and you're done.
Following this guide, you'll end up with something truly unique, made for you, to your specs and tastes---something that isn't off the shelf.
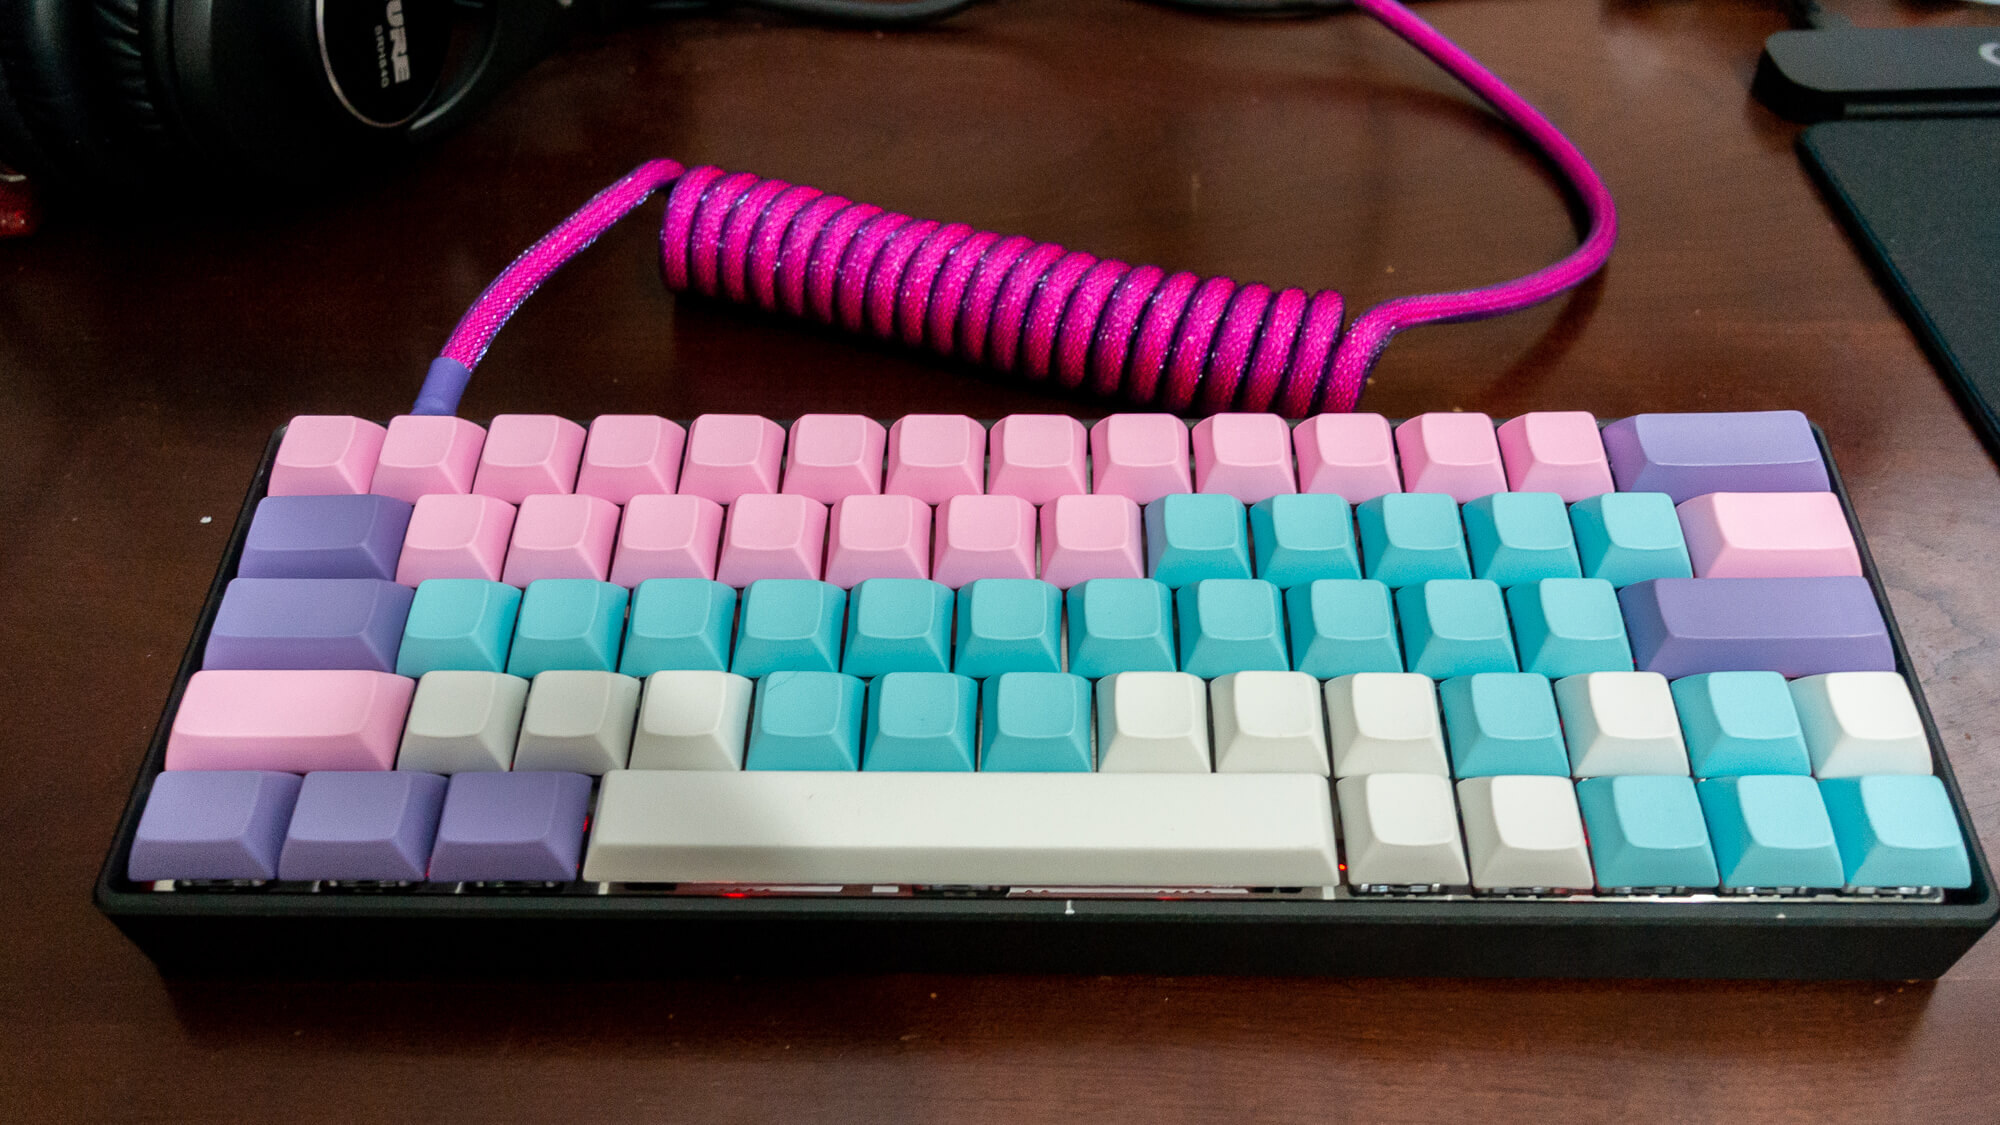
Unique Looking Keyboards
For inspiration, we've put together a collection of some of the finest builds we could find on the net.
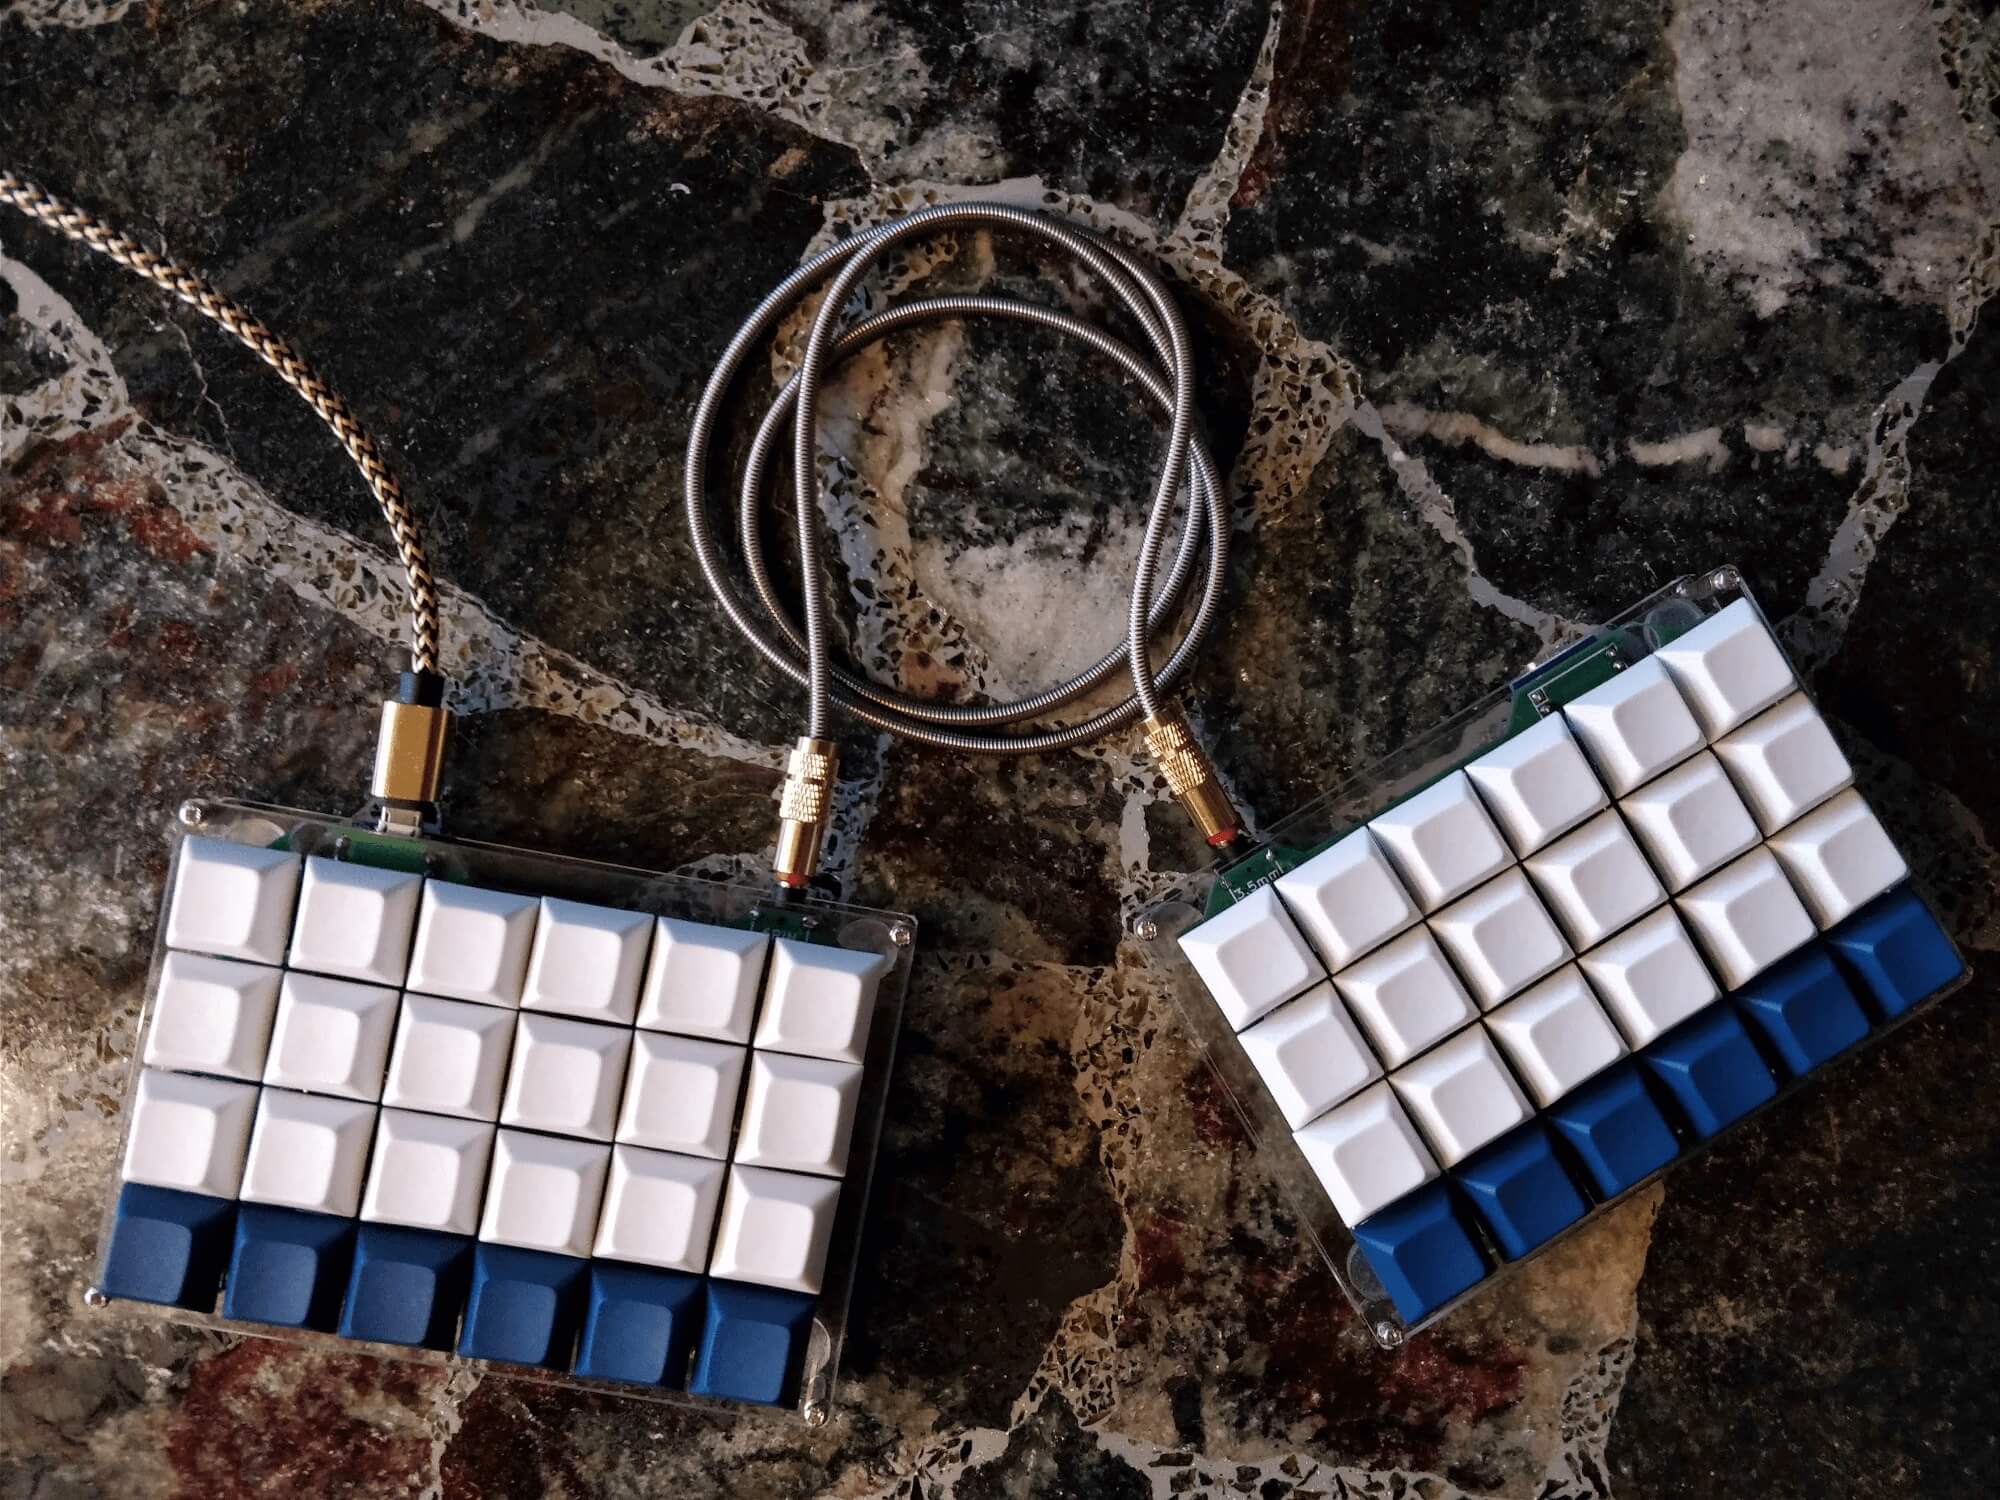
Photo Credit: Split Keyboard by Jesper
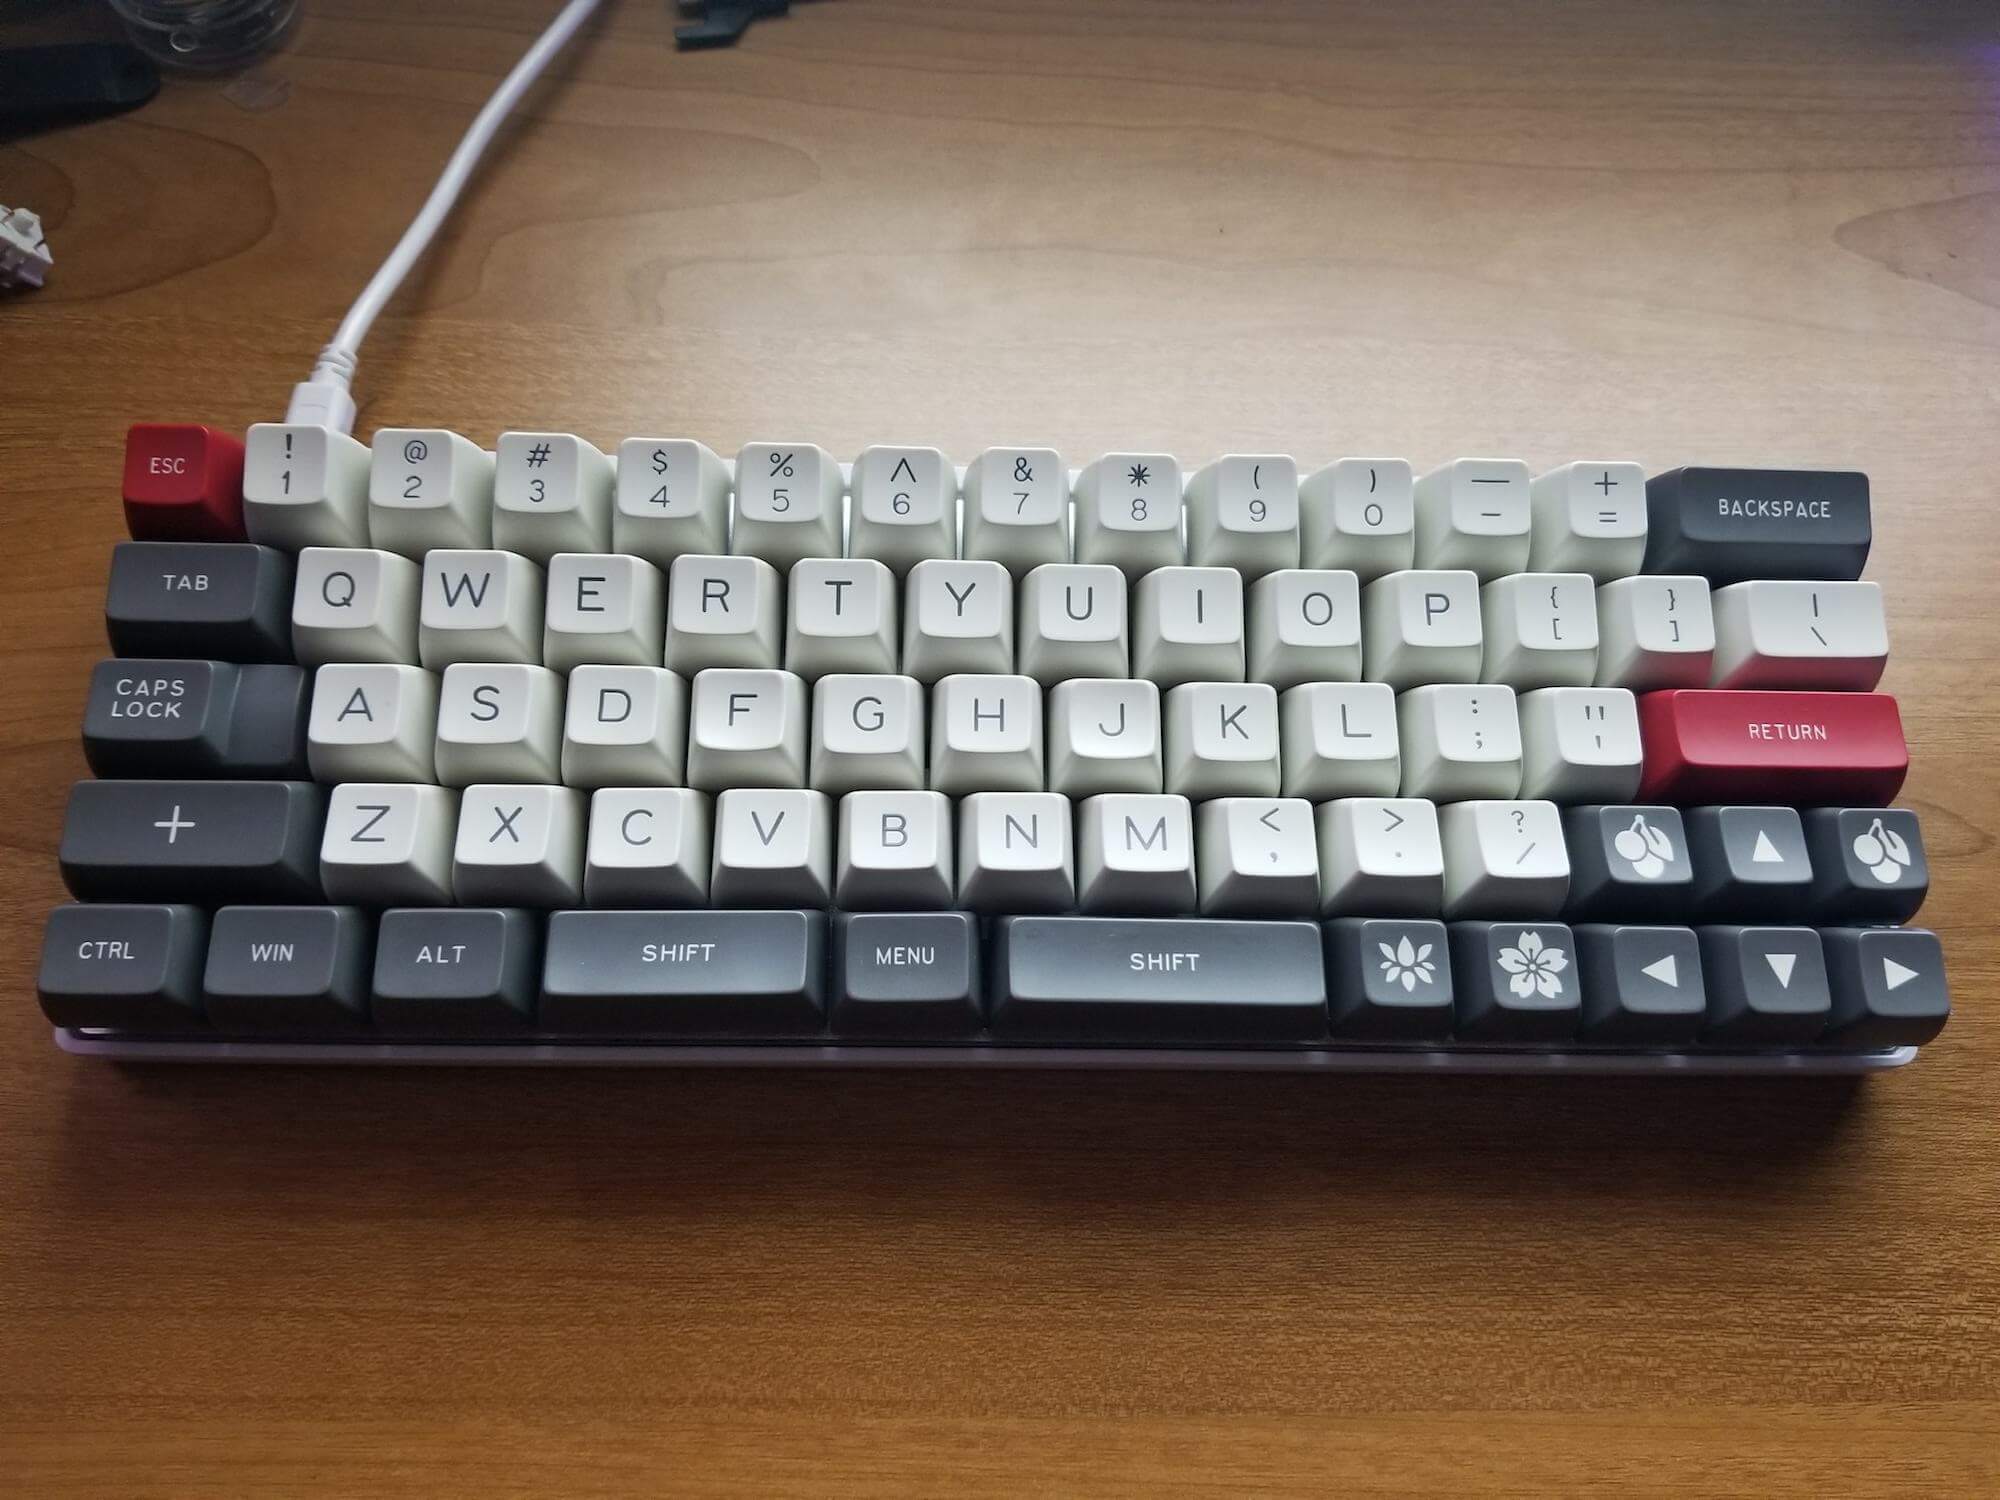
Image Credit: DZ60 by HoldTheseBalls
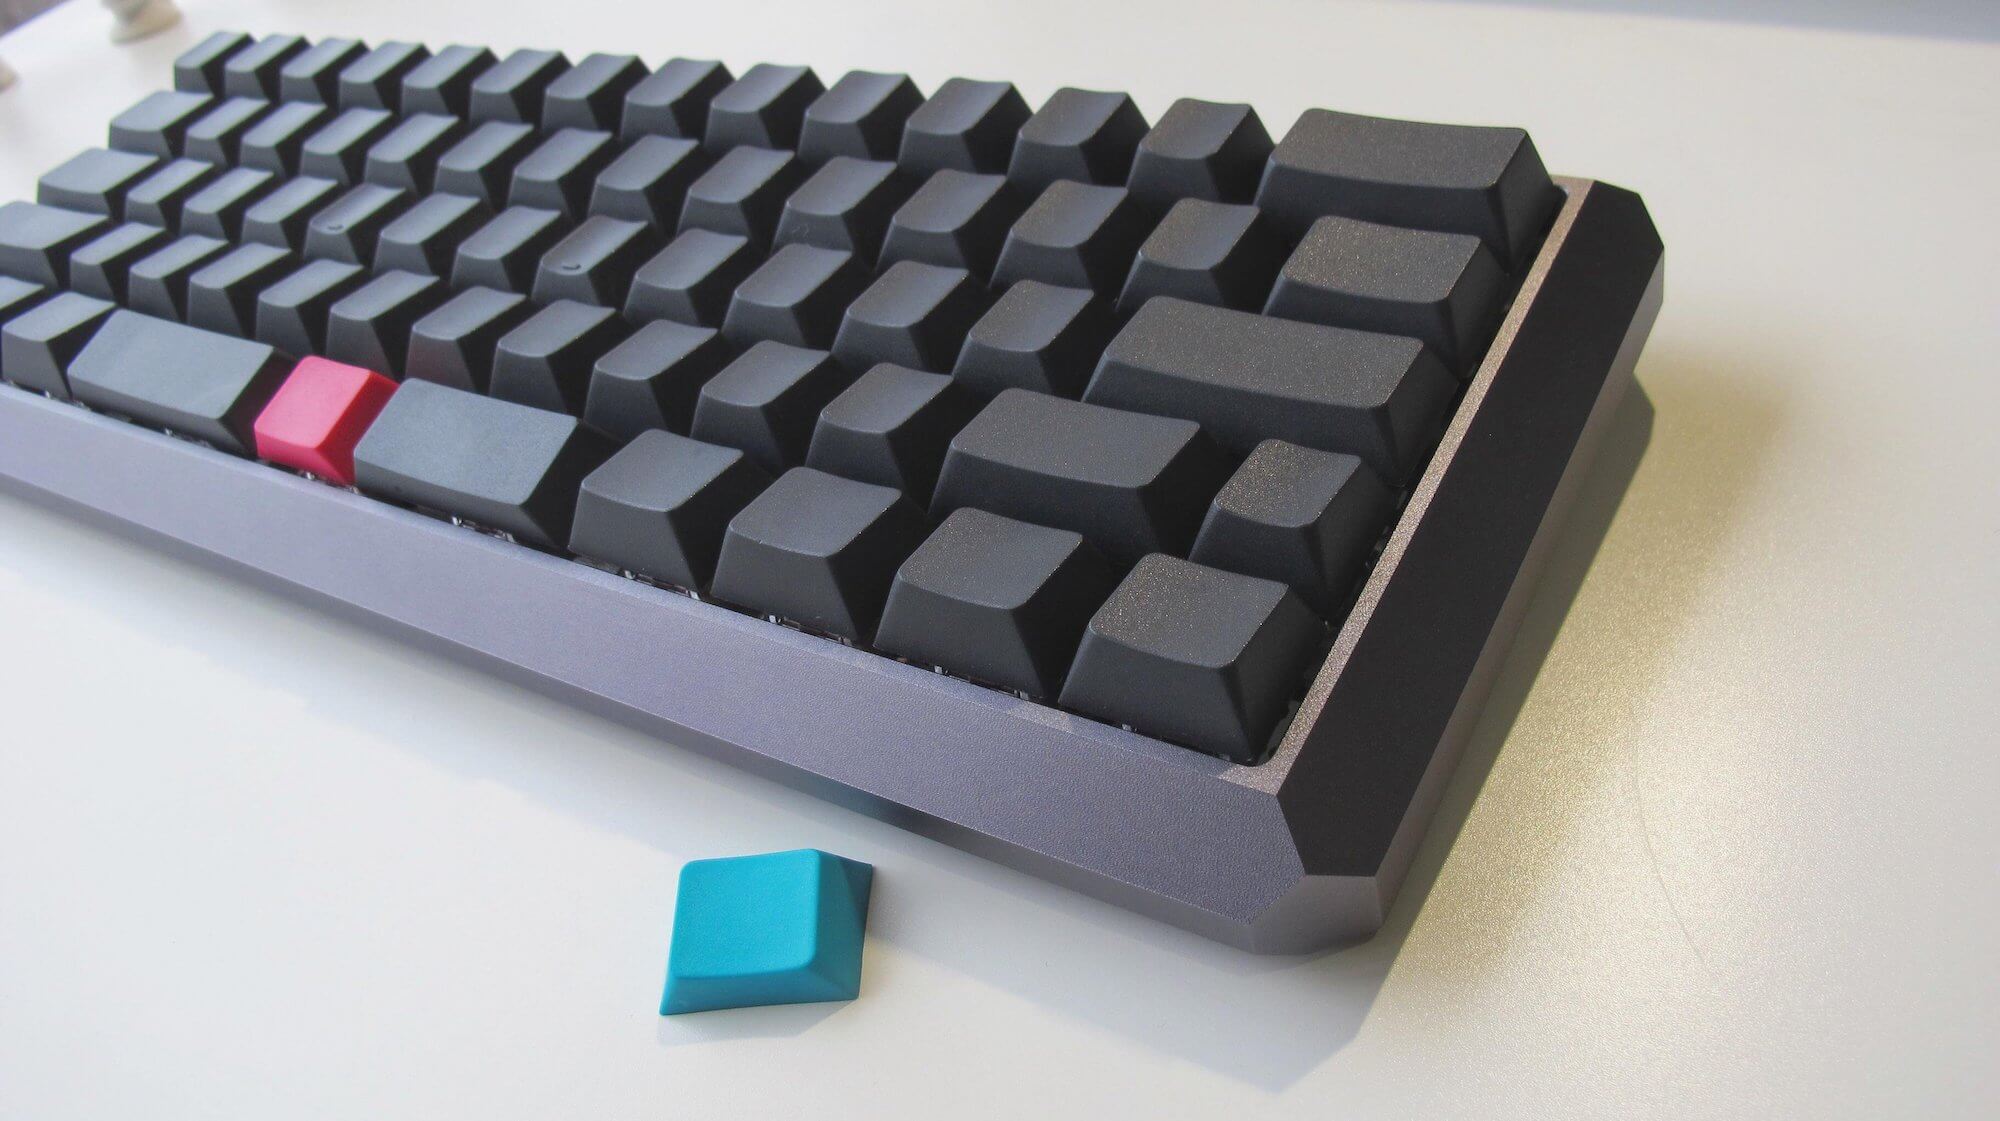
Photo Credit: DZ60 by fishpos
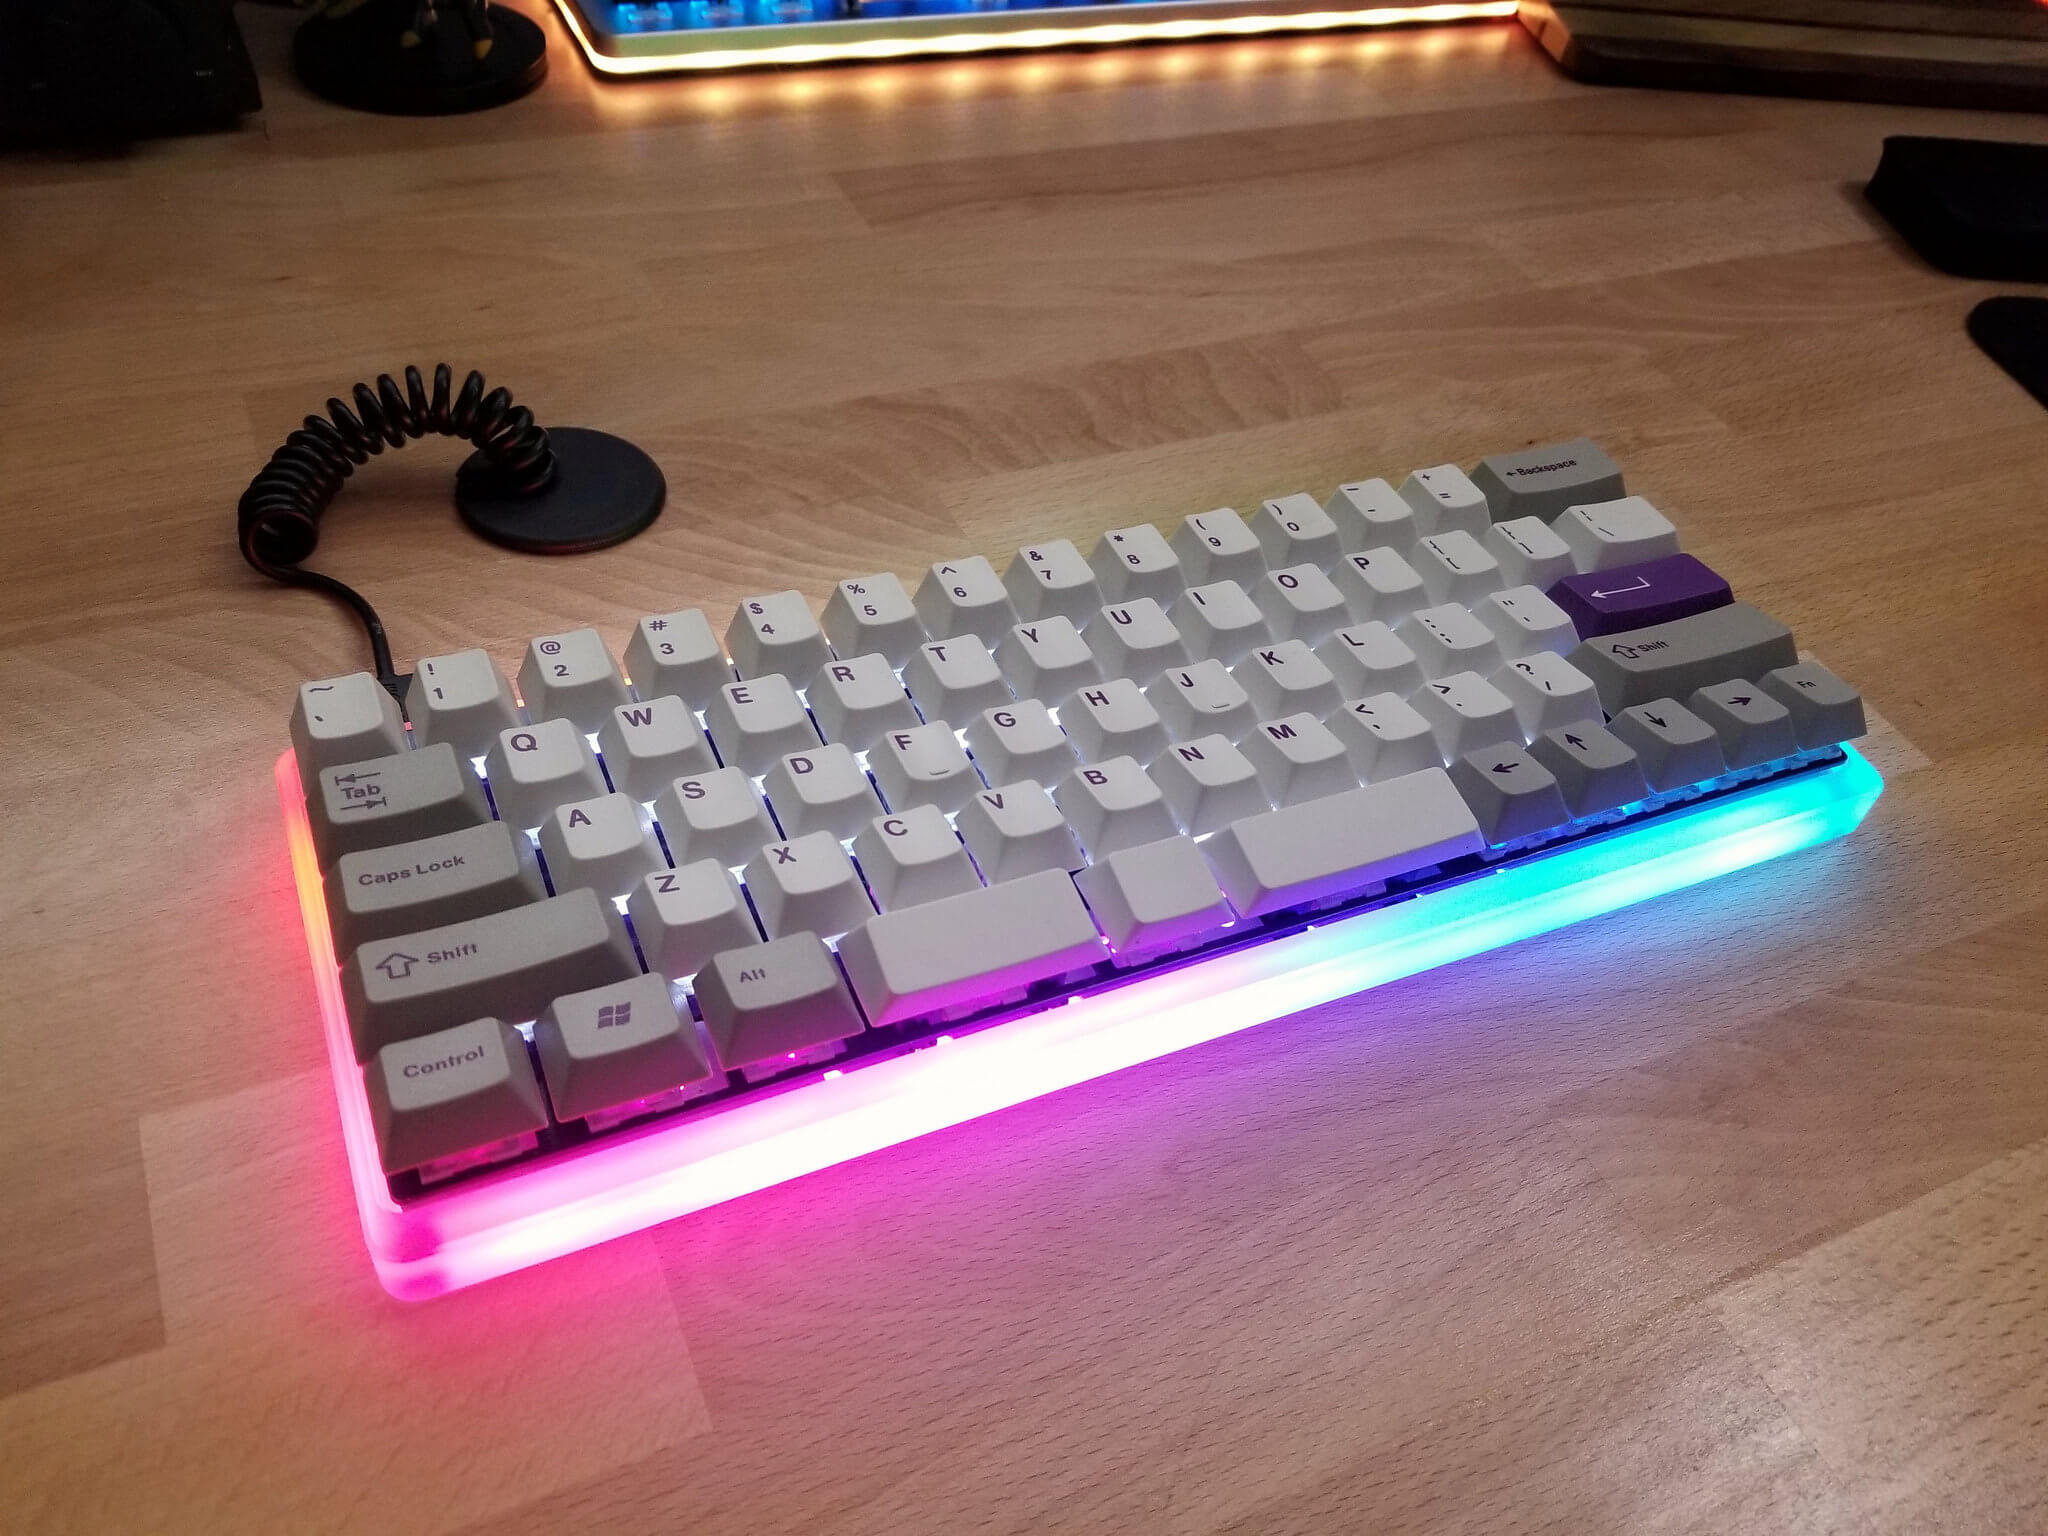
Photo Credit: DZ60 By Glod
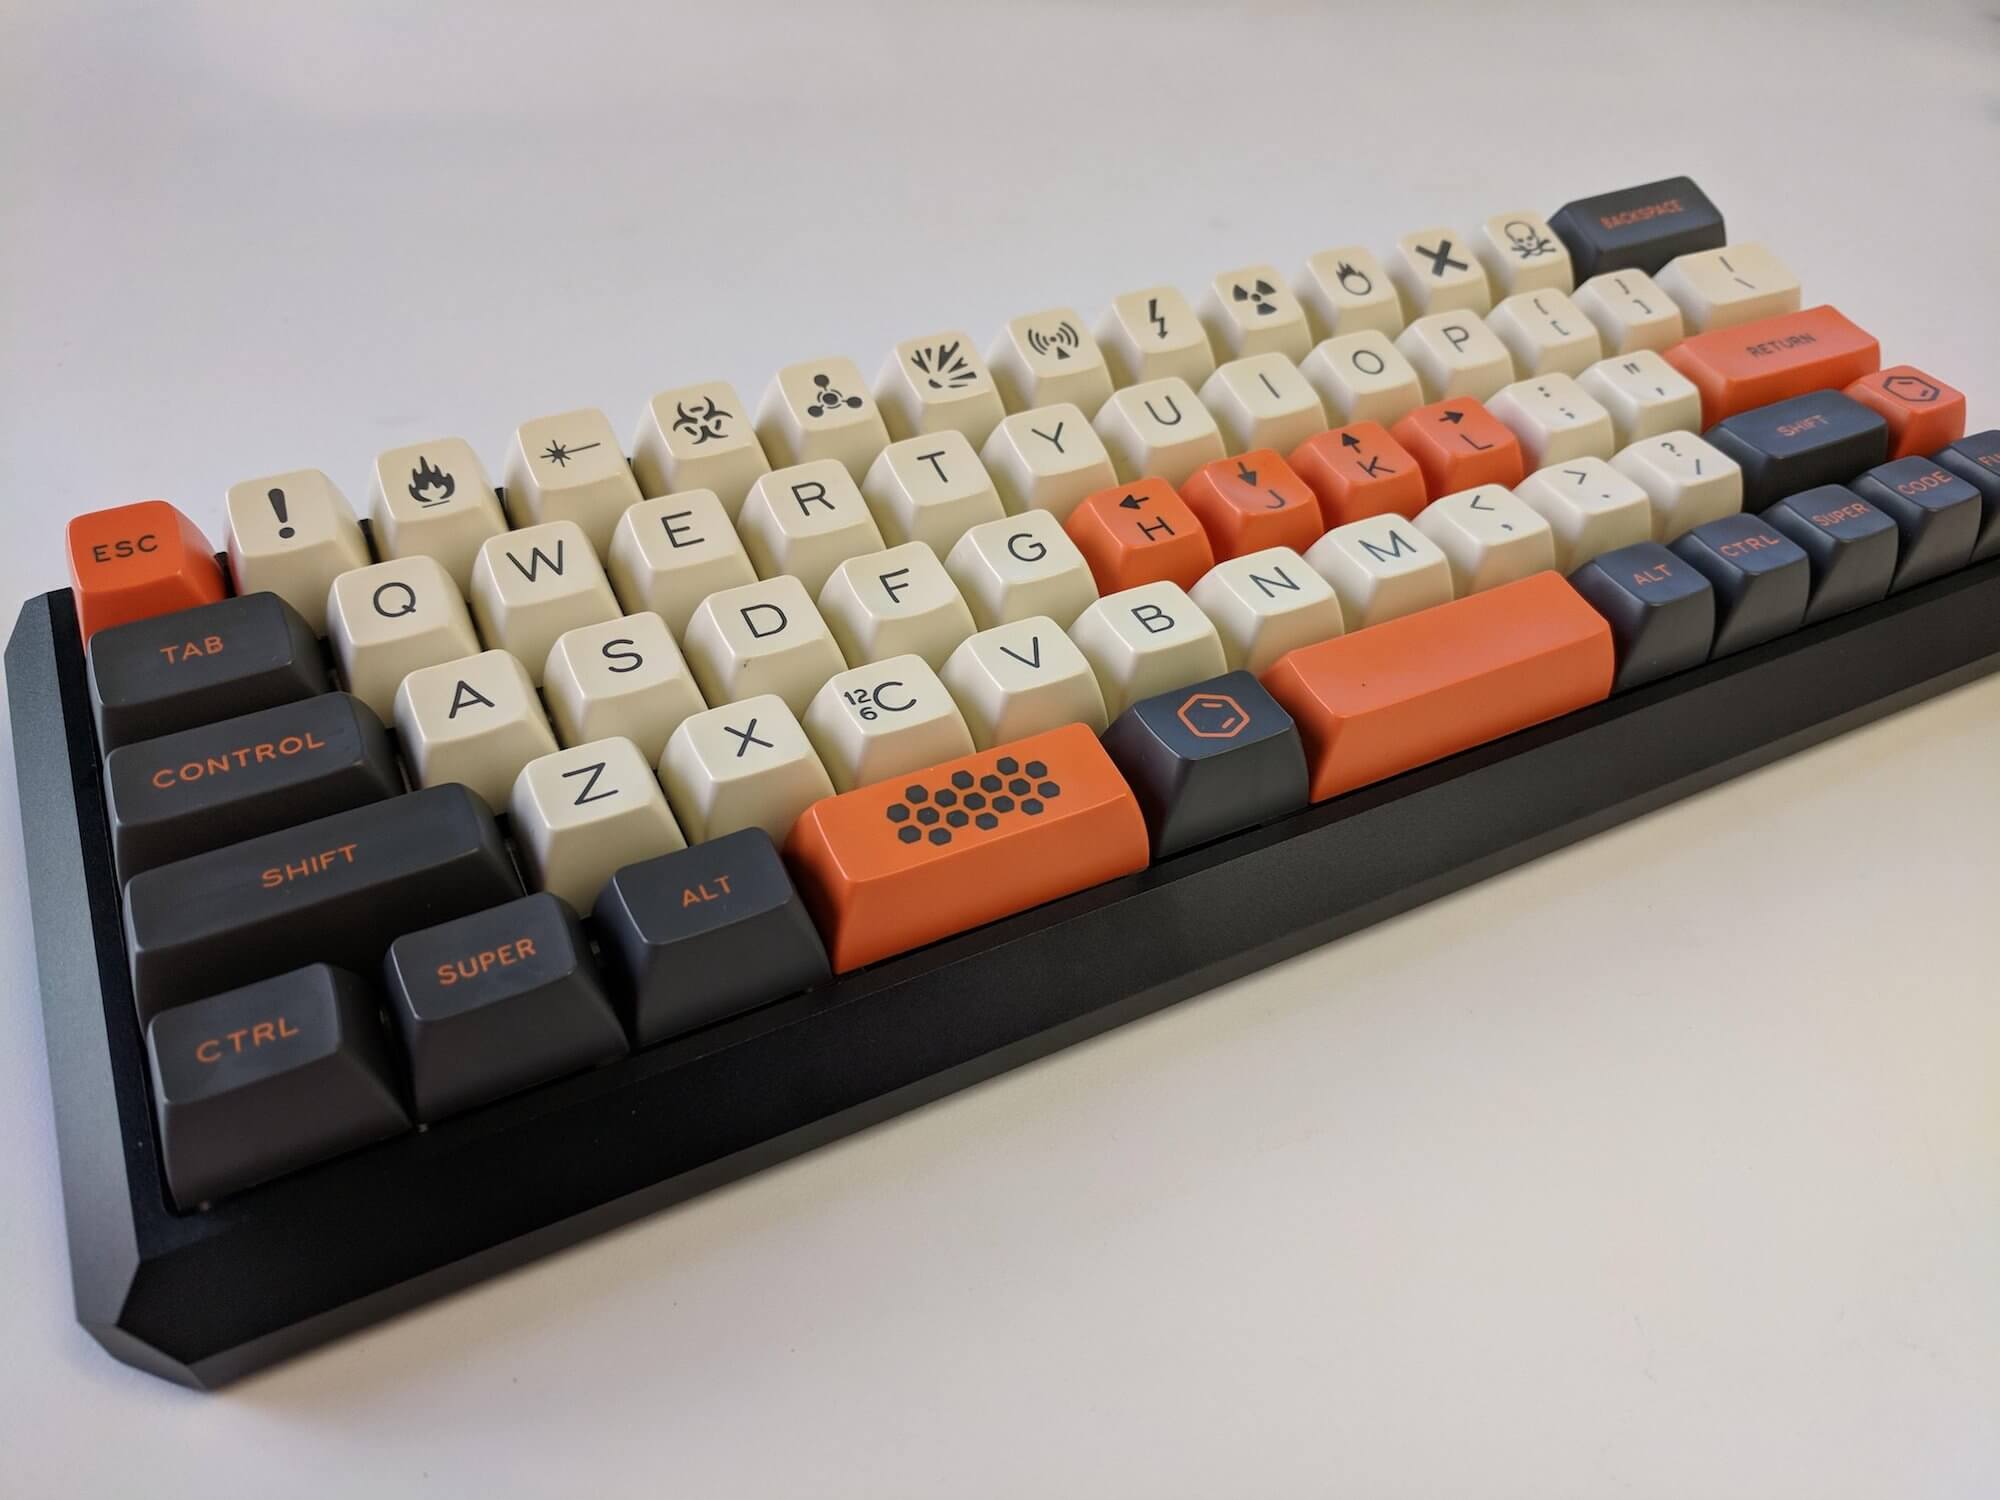
Photo Credit: Carbon DZ60 by durandalreborn
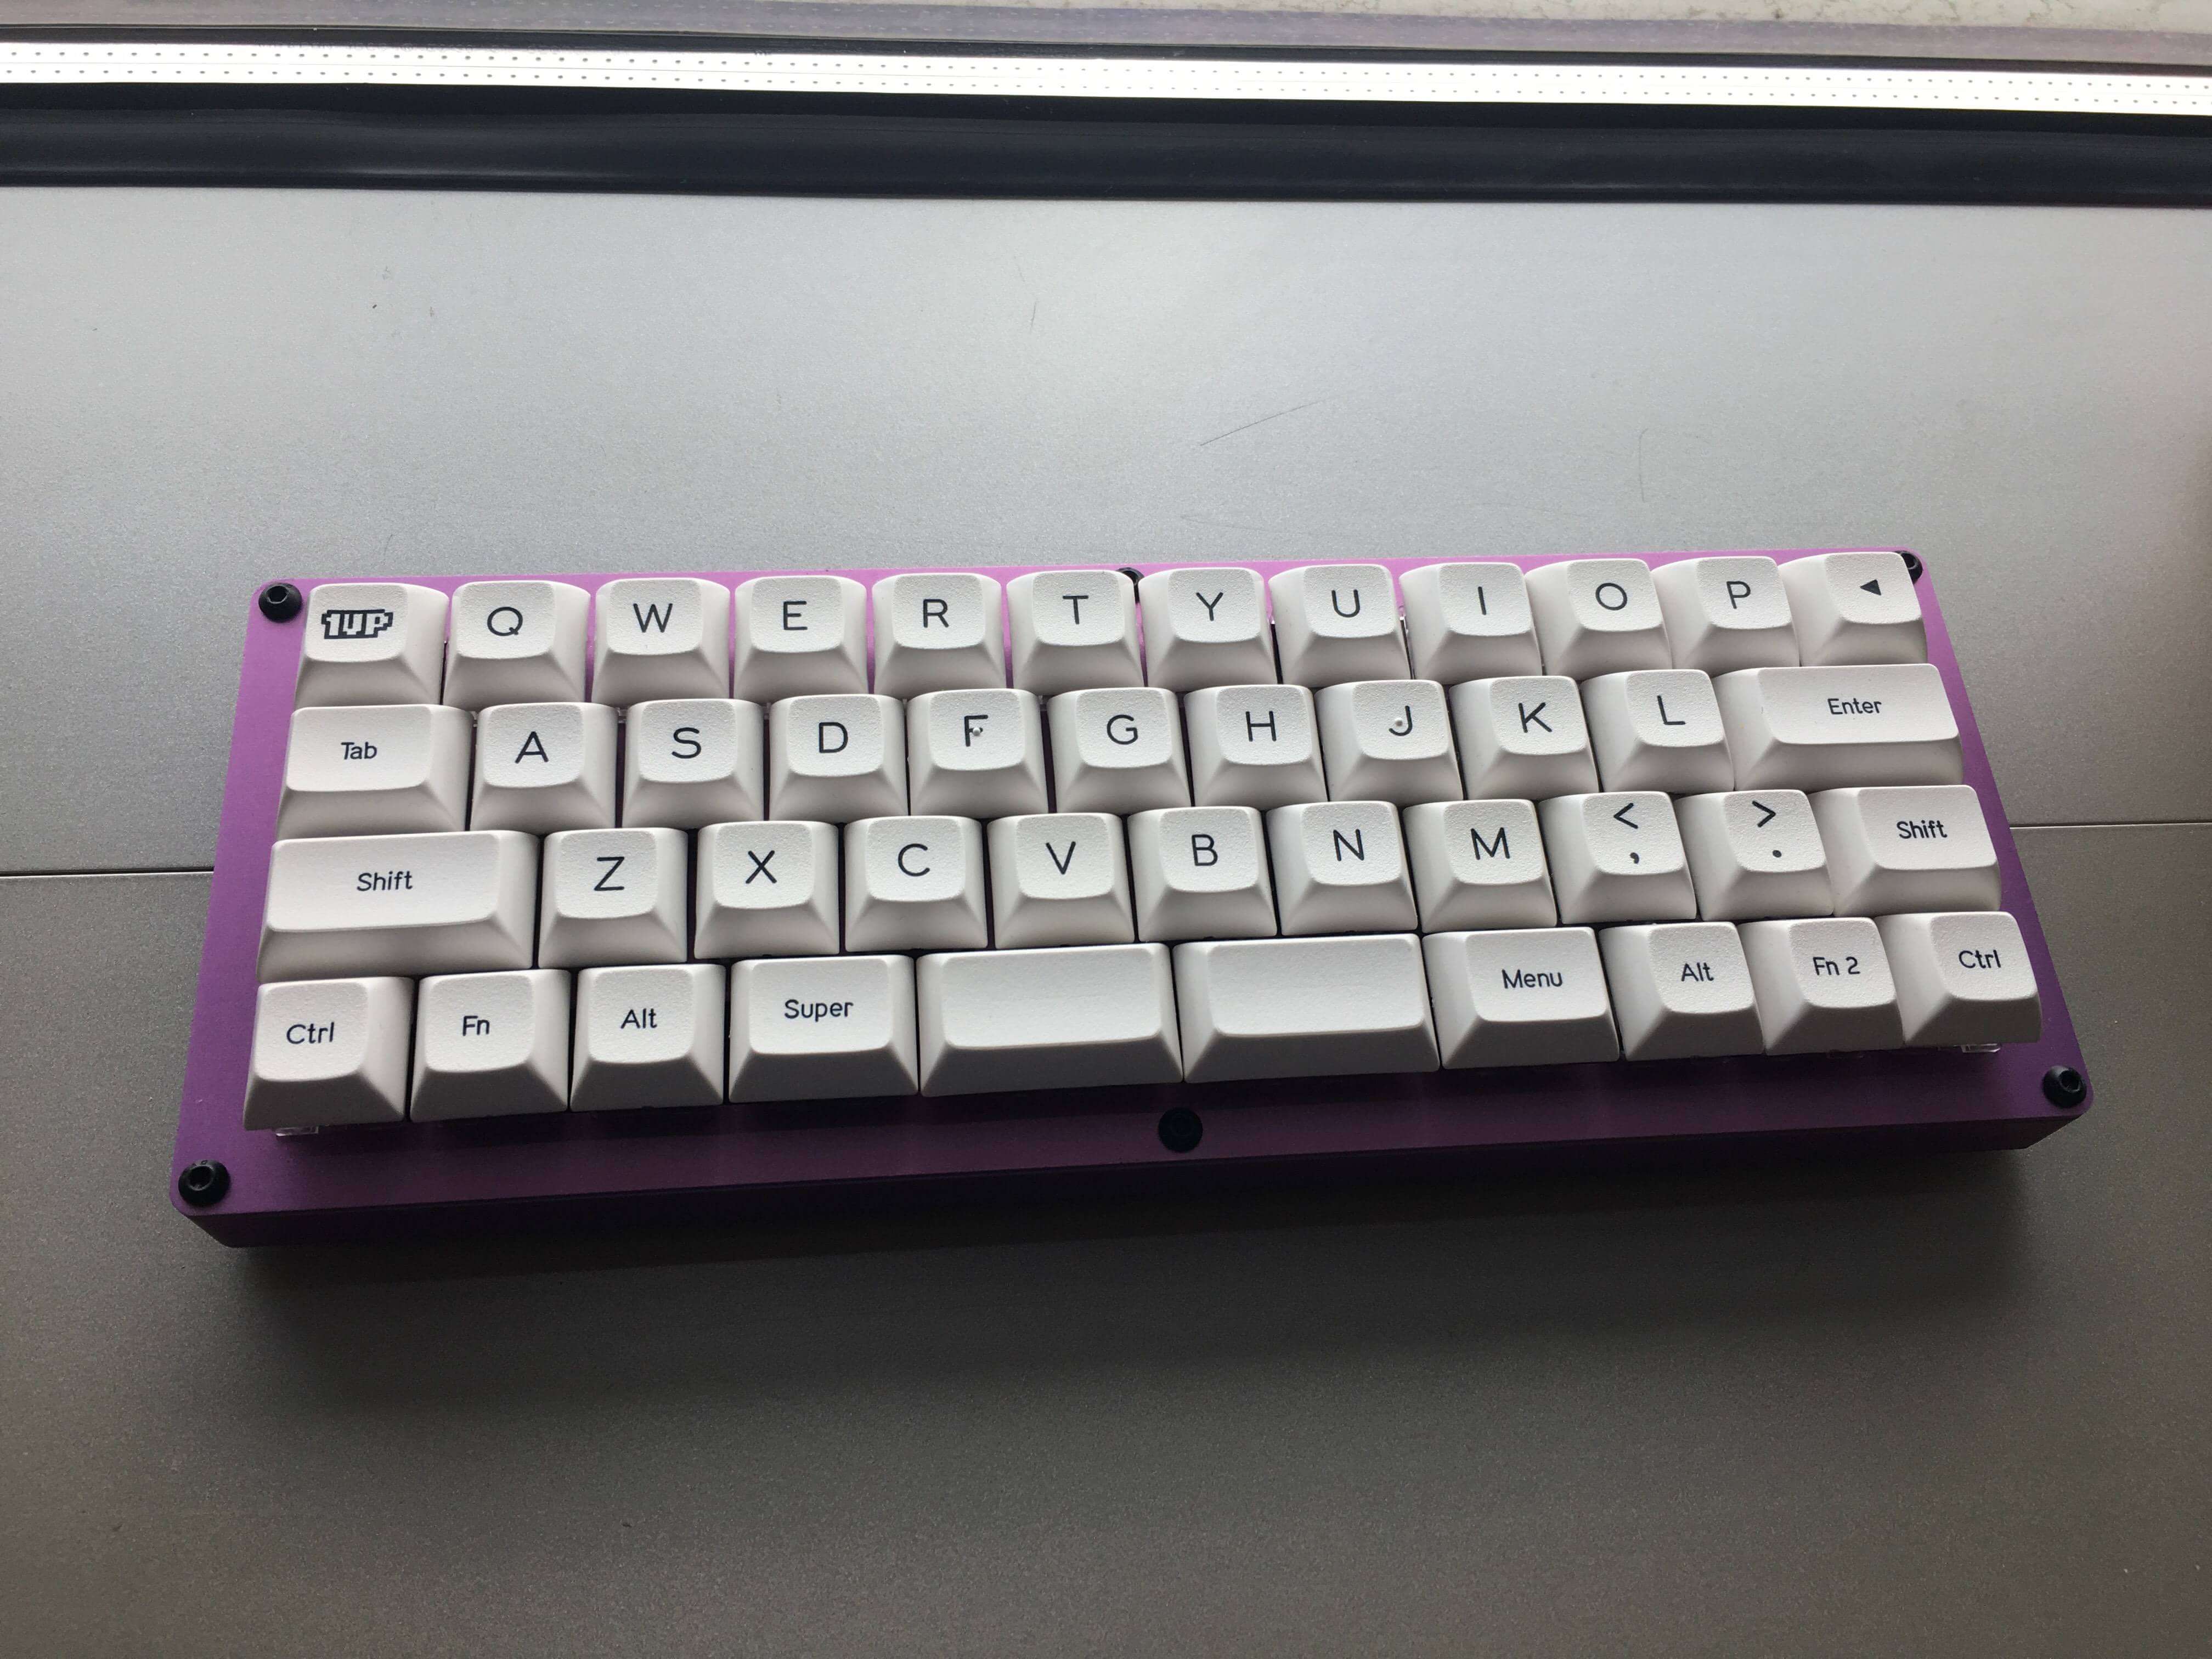
Photo Credit: JD40 Build
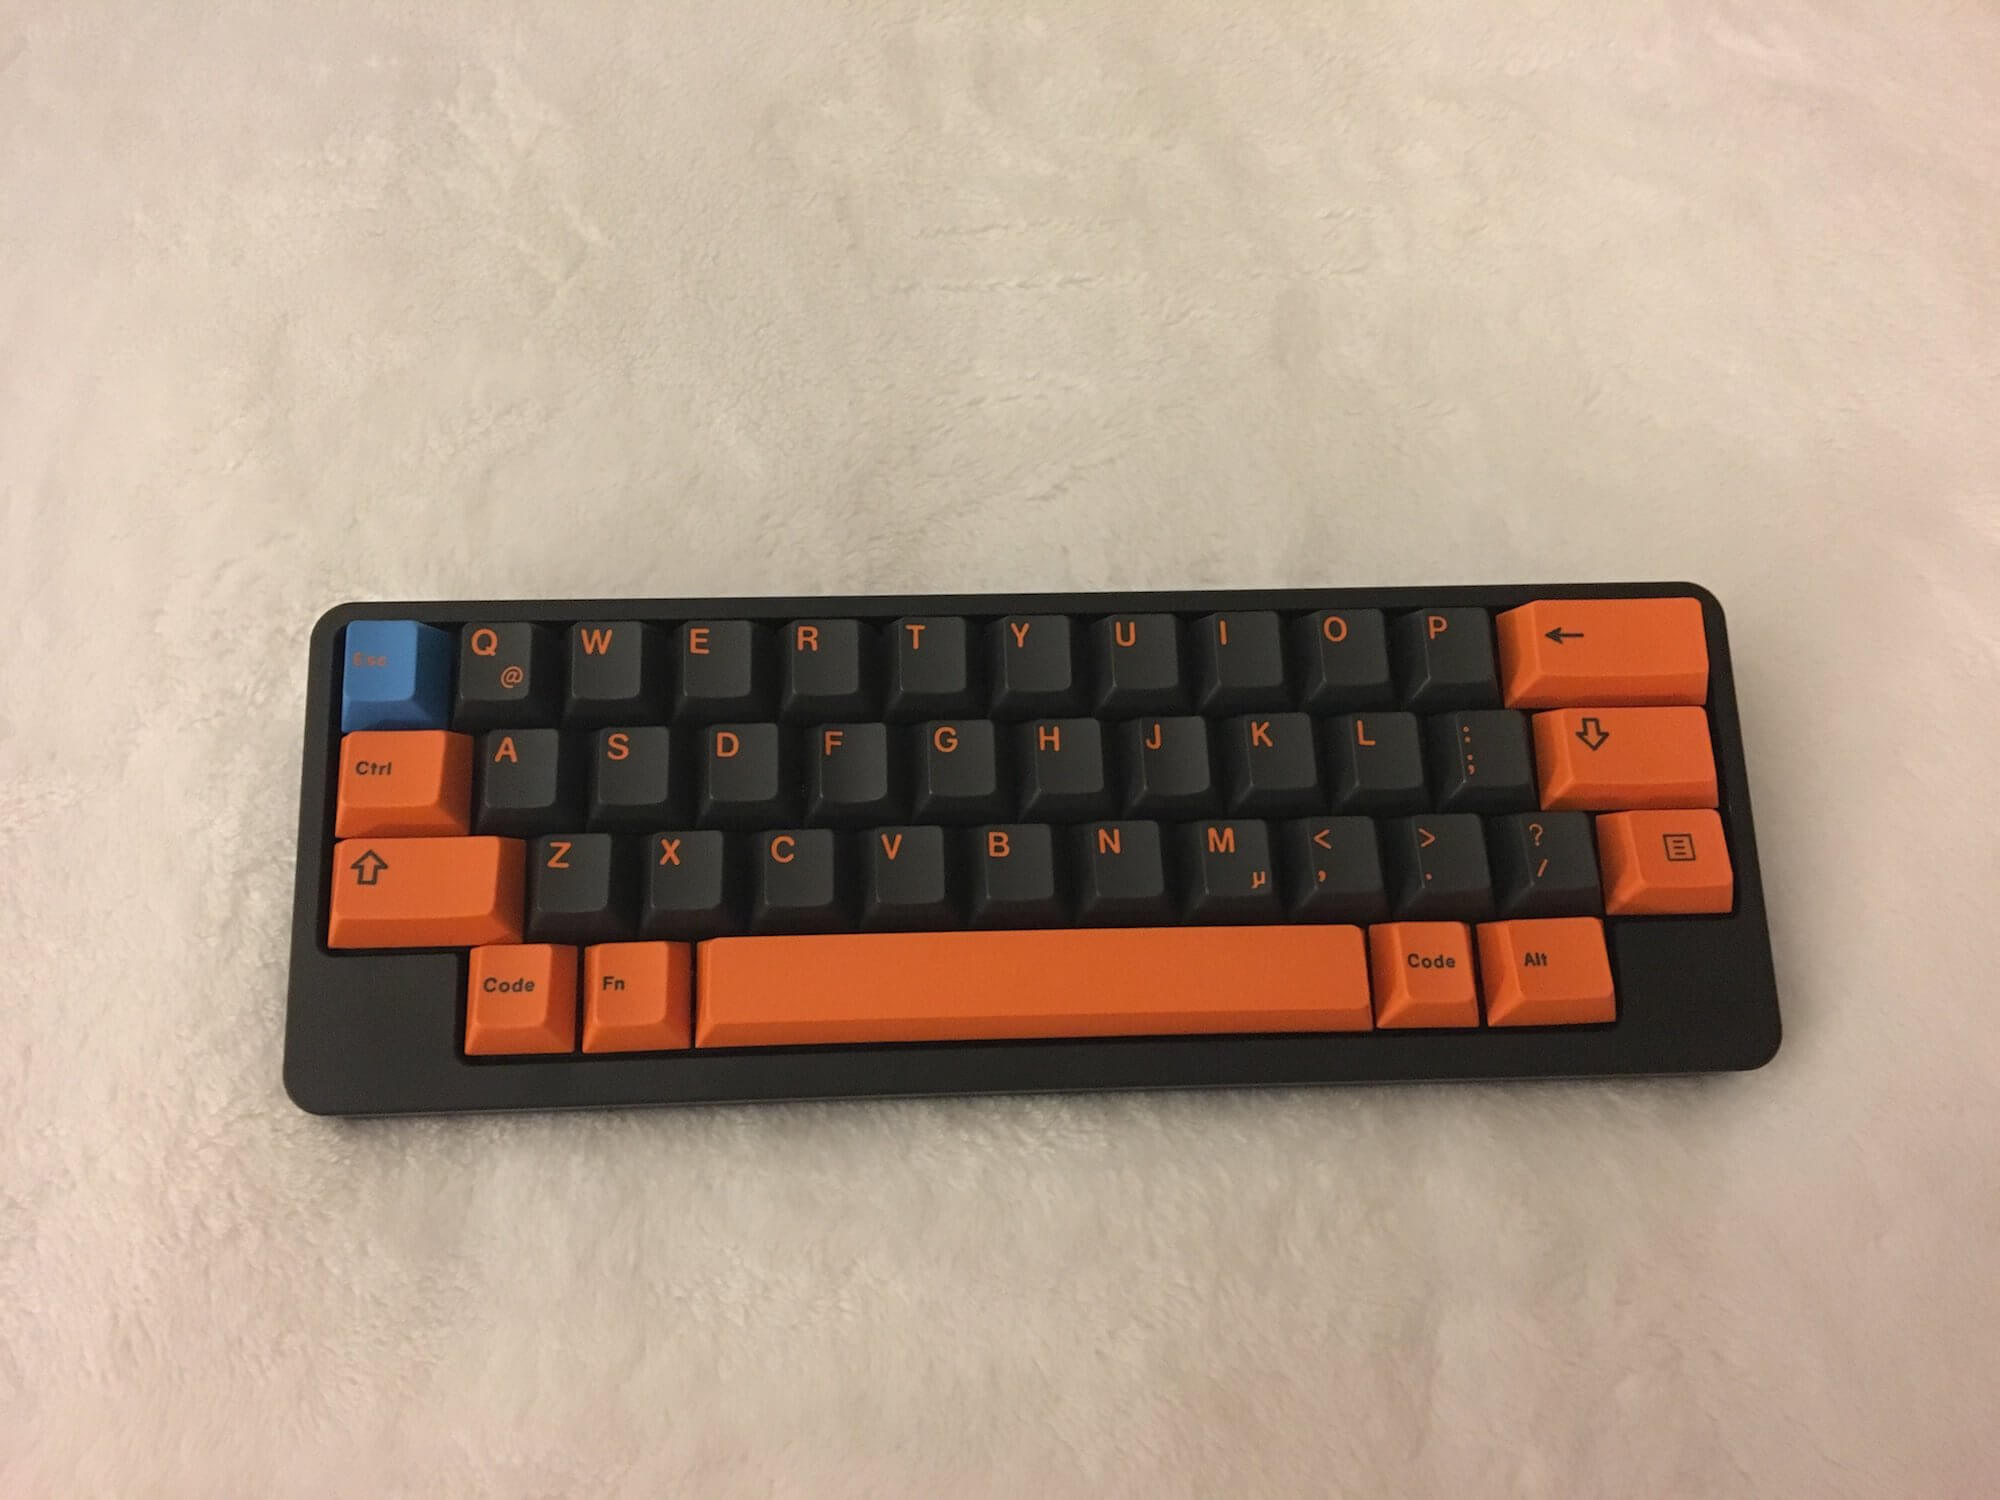
Photo Credit: JD45 by evangs
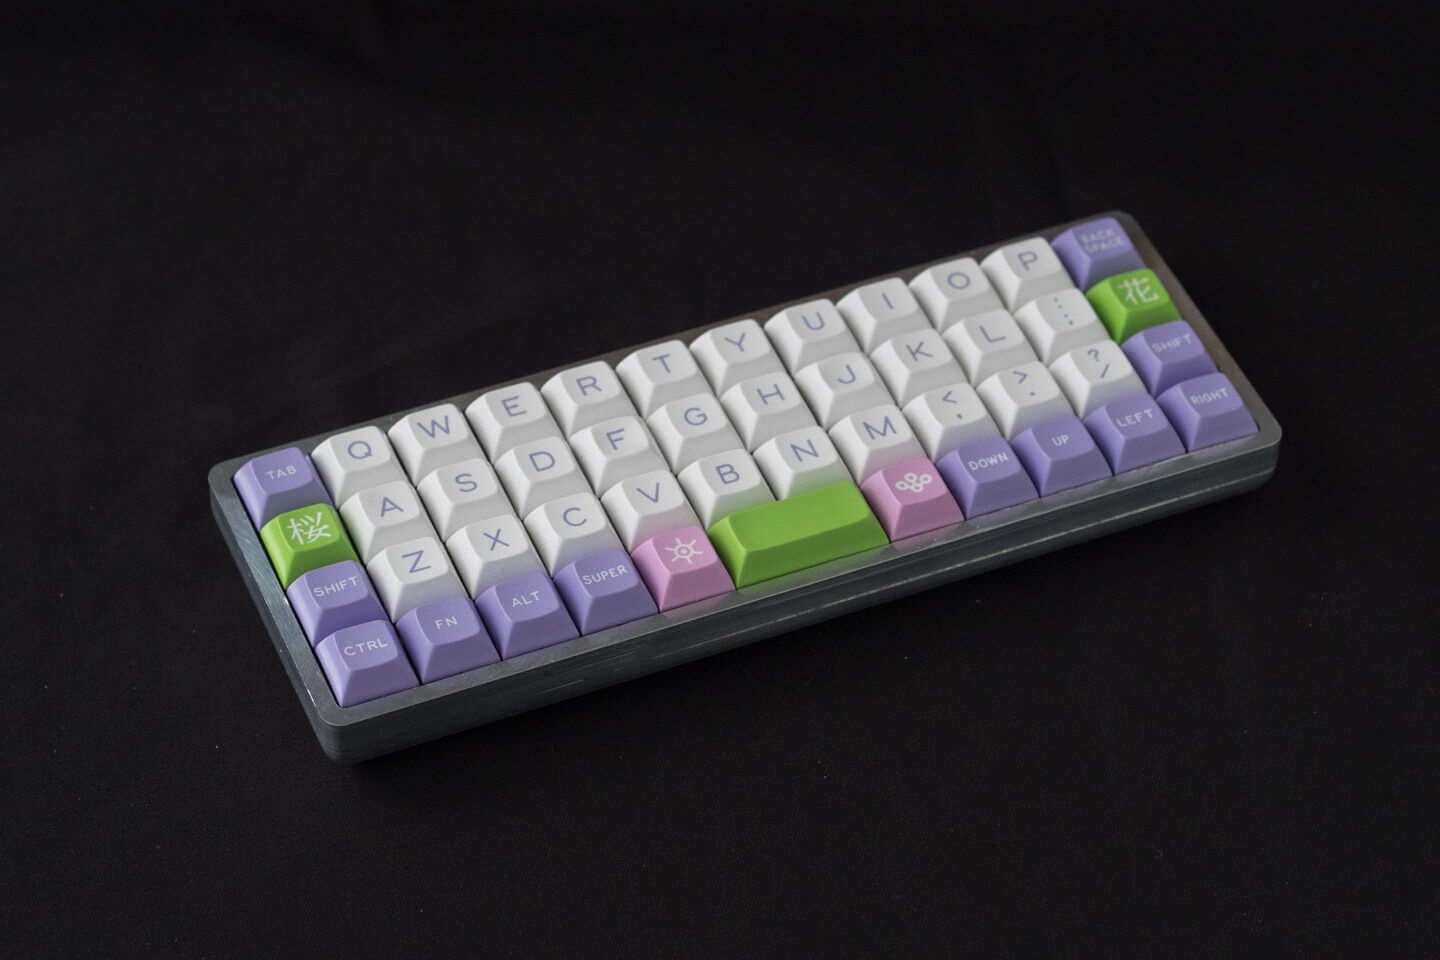
Photo Credit: Planck End Game Case by jebbra
TechSpot Series:
Build Your Own Mechanical Keyboard Project
While the big gaming brands have pushed the awareness and adoption of mechanical keyboards into the mainstream, what if I told you that every part of a keyboard can be customized? If you're not one for making compromises, it may be time to build your own.
- Part 1: Getting Started, Choosing the Parts
- Part 2: Assembly, Putting it All Together